

Solving a Rubik’s Cube might seem impossible at first, but with the right steps and a little practice, anyone can do it—every single time. Whether you’re just starting or finally ready to try advanced methods, this complete guide will walk you through a proven method that works consistently.
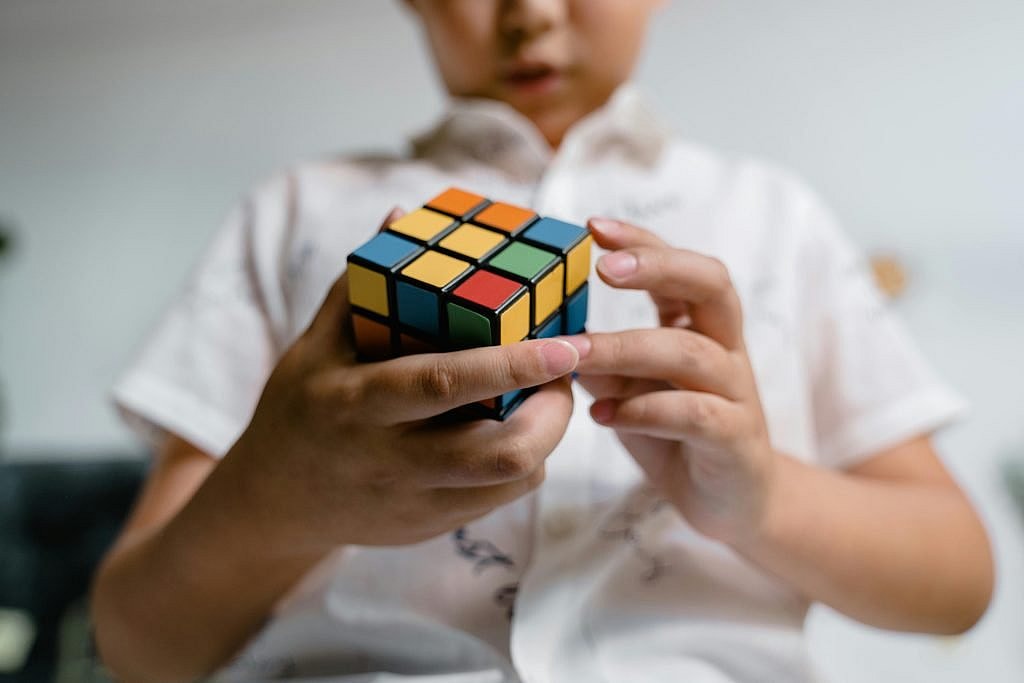
Step 1: Understand the Rubik’s Cube
Before diving in, it’s important to know the basics:
- A 3×3 Rubik’s Cube has six faces, each with nine smaller squares.
- The center squares don’t move—they define the cube’s color for each face.
- Your goal is to make each face one solid color.
Step 2: Learn the Notation
To follow solving guides, you’ll need to understand the common move notations:
- R: Rotate the right face clockwise
- R’: Rotate the right face counterclockwise
- L, L’: Left face
- U, U’: Upper face
- D, D’: Bottom (Down) face
- F, F’: Front face
- B, B’: Back face
Step 3: Solve the White Cross
Start by solving a white “plus” sign on the white face, aligning the white edge pieces with the center colors of the adjacent sides. You’re not just matching white—each white edge should line up with the correct center on the sides too.
Step 4: Solve the White Corners
Now solve the four white corner pieces to complete the first face. Find a white corner in the bottom layer and use this basic algorithm until it’s in place:
R’ D’ R D
Repeat until all four corners are correctly placed, making the entire white face complete.
Step 5: Solve the Middle Layer
You’ll now place the edge pieces in the middle layer using one of two algorithms:
- To move an edge to the left:
U’ L’ U L U F U’ F’ - To move an edge to the right:
U R U’ R’ U’ F’ U F
Repeat these until all middle layer edges are in the correct spots.
Step 6: Make a Yellow Cross
Next, you’ll work on the yellow face. First, form a yellow cross using this algorithm:
F R U R’ U’ F’
Do it multiple times if needed until you get a yellow cross (not corners, just edges).
Step 7: Position Yellow Corners
Use this algorithm to move yellow corners into the correct place (they don’t have to be oriented correctly yet):
U R U’ L’ U R’ U’ L
Repeat until all yellow corners are in the correct positions.
Step 8: Orient the Yellow Corners
Now turn the yellow corners the right way using this algorithm:
R’ D’ R D
Focus on one corner at a time, keeping the solved pieces in place. Rotate the top layer as needed between repetitions.
Step 9: Finish the Final Layer Edges
Finally, solve the last few edges to finish the cube. Use this move sequence:
F2 U L R’ F2 L’ R U F2
Repeat as needed to fully align all sides.

Step 10: Ready to Get Faster? Learn the CFOP Method
Speedcubers use a system known as CFOP, which breaks the cube into four stages:
1. Cross
Same as the beginner white cross, but solved more efficiently.
2. F2L – First Two Layers
Instead of solving white corners and middle edges separately, F2L solves corner-edge pairs together. This is the first real jump in speed.
There are 42 common F2L cases, and recognizing them quickly is key.
3. OLL – Orientation of the Last Layer
Use one of 57 algorithms to make the entire top layer yellow.
Beginners usually start with 2-look OLL, where you first make a yellow cross, then solve the corners.
4. PLL – Permutation of the Last Layer
This final step arranges all the top-layer pieces to their correct spots, solving the cube.
Full PLL involves 21 algorithms, but beginners can use 2-look PLL with just a few.
Step 11: Practice and Progress
Start with the beginner method to understand the cube’s logic. Then:
- Learn F2L gradually by replacing your beginner corner+edge approach
- Add 2-look OLL and 2-look PLL to build toward CFOP
- Use online tools like cubeskills.com or csTimer to time your solves and track progress
- Watch YouTube tutorials for algorithm recognition and finger tricks
Final Thoughts
Solving the Rubik’s Cube isn’t about luck—it’s pattern recognition and practice. The beginner method gives you confidence. The CFOP method makes you fast. Once you memorize key algorithms and develop your lookahead and turning skills, you can solve the cube in under 30 seconds—maybe even under 10 with dedication.
Whether you’re learning for fun or training for your first speedcubing competition, the journey is as satisfying as the solution.
Related Posts
 The 8 Best Puzzle Board Games for Challenging Fun
 The Best CATAN Expansions: Which One Should You Get Next?
 How to Play Crazy Eights With Normal Cards
 A Complete Guide to 4-Player Chess: Rules, Strategies, and Tips
 The Best Rummy Games You Should Try in 2026
 21 Best Board and Card Games to Play on Thanksgiving